How to Select an ATEX Beacon
Published 03 Aug 2026
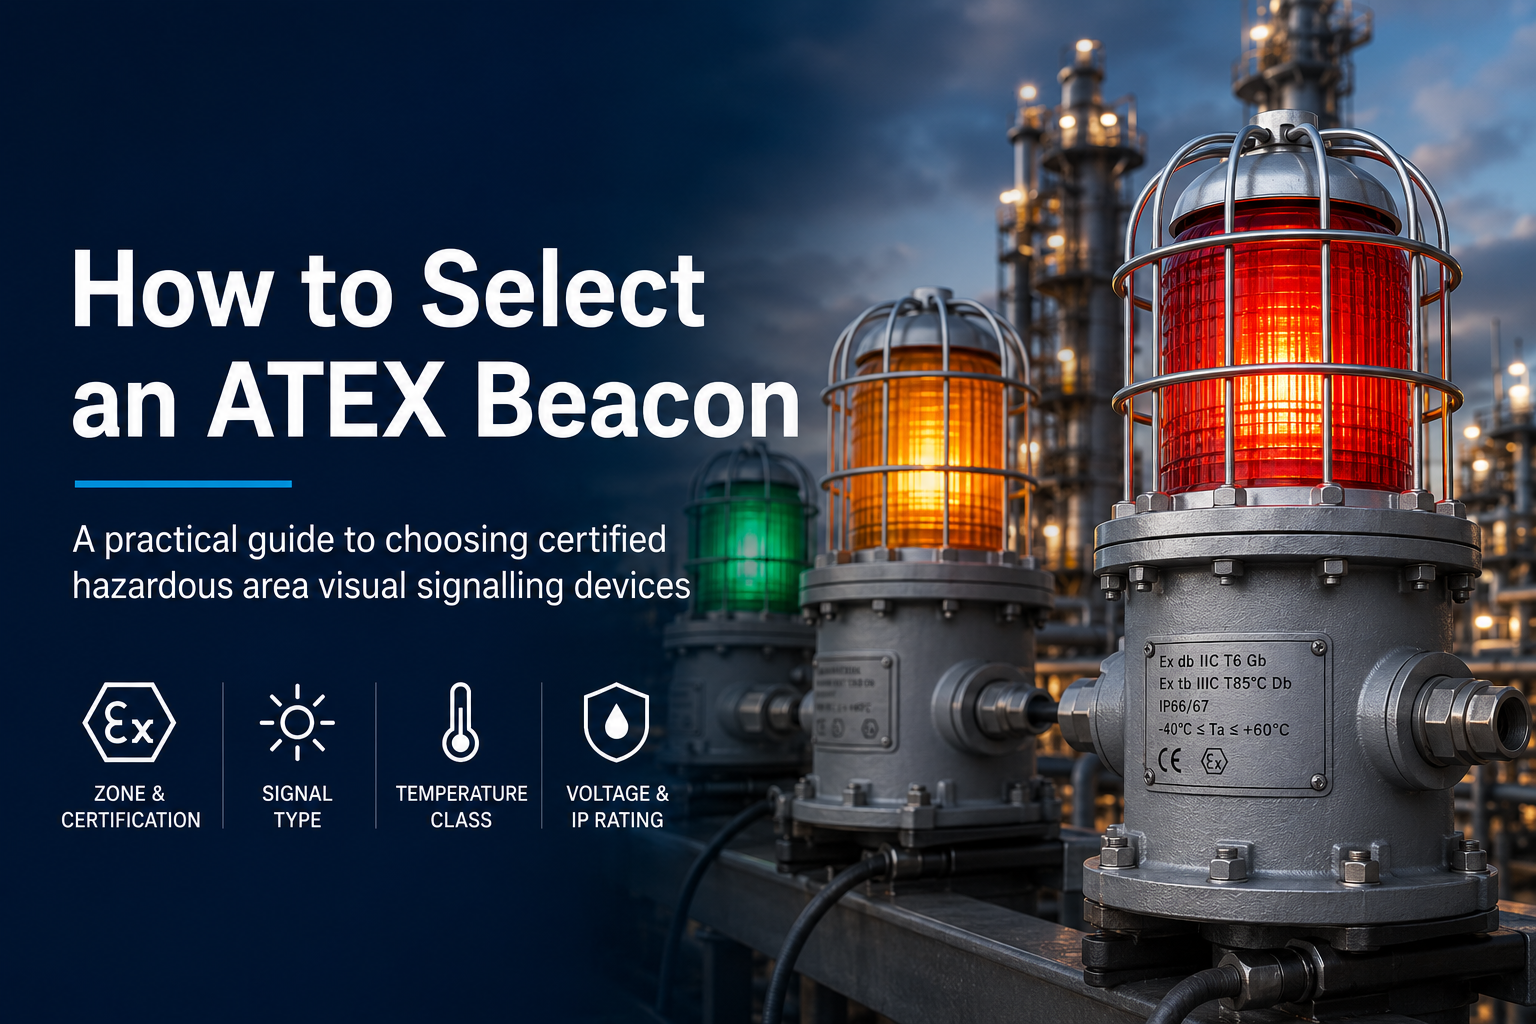
Selecting an ATEX beacon involves more than choosing a lens colour or deciding between an LED and xenon light source. The product must be suitable for the complete hazardous area classification, environmental conditions, electrical system and required visual signal.
The selection process should begin with the hazardous area documentation. The zone, gas or dust group, temperature requirements, ambient conditions and required certification must be understood before comparing individual beacon models.
Thorne & Derrick supplies ATEX beacons for hazardous area visual signalling with LED, xenon, steady, flashing, strobe and electronically rotating options.
For an introduction to their purpose and construction, read What Is an ATEX Beacon?
Selection principle: start with the hazardous area classification and required equipment marking. Signal technology, voltage, colour and mounting configuration should be considered only after the certification requirements have been established.
ATEX Beacon Selection Checklist
1. Confirm the Hazardous Area Classification
Before selecting a beacon, obtain the hazardous area classification for the proposed installation location. This should identify whether the risk relates to gas, vapour, mist or combustible dust and how frequently the explosive atmosphere is expected to occur.
Visual signalling equipment is commonly required in Zones 1, 2, 21 and 22:
| Zone | Atmosphere | General Description | Typical ATEX Category |
|---|---|---|---|
| Zone 1 | Gas, vapour or mist | An explosive atmosphere is likely to occur occasionally during normal operation. | Category 2G or equipment providing a suitable higher level of protection |
| Zone 2 | Gas, vapour or mist | An explosive atmosphere is not likely during normal operation and, if present, will normally exist only briefly. | Category 3G or equipment providing a suitable higher level of protection |
| Zone 21 | Combustible dust | A combustible-dust atmosphere is likely to occur occasionally during normal operation. | Category 2D or equipment providing a suitable higher level of protection |
| Zone 22 | Combustible dust | A combustible-dust atmosphere is not likely during normal operation and, if present, will normally exist only briefly. | Category 3D or equipment providing a suitable higher level of protection |
The zone alone is not enough to complete the selection. The gas or dust group, equipment protection level, temperature requirement and ambient conditions must also be confirmed.
Read the H&P guide to hazardous area zones and explosive atmosphere classification.
2. Check the Required Certification and Product Marking
The beacon must carry certification appropriate to the destination market and installation specification. Depending on the project, this may include ATEX, UKEX, IECEx or additional regional approvals.
The complete product marking should be reviewed rather than relying on a general description such as “Zone 1 beacon”.
Equipment Group and Category
The equipment group and category indicate the intended industry and level of protection. Most onshore and offshore processing applications use Group II equipment, but the required category must correspond with the area classification.
Equipment Protection Level
The equipment protection level may be shown using markings such as Gb, Gc, Db or Dc. The required level should be established from the hazardous area design.
Gas and Dust Groups
Gas atmospheres may be classified using groups IIA, IIB or IIC. Combustible-dust atmospheres may use groups IIIA, IIIB or IIIC. The beacon marking must be suitable for the group identified in the site classification.
Protection Concept
Hazardous area beacons can use protection concepts including flameproof, increased safety, intrinsic safety and protection by enclosure. Some products combine more than one concept, such as a flameproof light chamber with an increased-safety terminal compartment.
Read more about ATEX and IECEx certification of hazardous area equipment.
3. Check the Temperature Class and Ambient Range
Temperature requirements are a critical part of beacon selection. The equipment must not create an external surface temperature capable of igniting the identified atmosphere under the certified conditions of use.
For gas applications, the product marking may include a temperature class such as T4, T5 or T6. Combustible-dust equipment is normally marked with a maximum surface temperature in degrees Celsius.
The permitted ambient-temperature range must also cover the lowest and highest expected site temperatures. A product may have different temperature classifications at different ambient limits.
Do not assume: a beacon described as T6 is suitable across its entire published temperature range. The permitted ambient range may reduce as the required temperature class becomes more restrictive.
4. Choose the Required Visual Signal
Once the hazardous area requirements are understood, determine how the alarm or status condition should be communicated.
| Signal Type | Visual Effect | Typical Use |
|---|---|---|
| Steady | Continuous illumination | Persistent equipment status, process condition or warning |
| Blinking | Regular on-and-off light pattern | Changing condition or attention signal |
| Strobe | High-intensity pulses | Alarm or warning requiring a prominent visual signal |
| Rotating | Moving or electronically sequenced light | Distinctive warning or plant-status indication |
LED or Xenon?
| Consideration | LED | Xenon |
|---|---|---|
| Signal options | Can provide steady, blinking, strobe or electronically rotating patterns | Normally provides a defined high-intensity flash |
| Selection data | Light output, signal pattern, current and colour | Flash energy, flash frequency, current and colour |
| Maintenance | Frequently selected for long operating life | Flash-tube life should be considered |
| Typical requirement | Flexible status or alarm signalling | Prominent pulsed visual warning |
Flash energy or LED technology alone does not establish whether a signal will be sufficiently visible. Viewing distance, lens colour, ambient light, obstructions, mounting height and the site alarm philosophy should also be considered.
5. Select the Lens Colour
Common beacon colours include red, amber, green, blue, yellow and clear or white. The available colours depend on the selected model.
The meaning assigned to each colour should be defined by the site alarm philosophy, operating procedure or project specification. It should not be assumed from the colour alone.
Colour selection can also affect the apparent optical output. Manufacturer performance data should therefore be checked for the exact lens or LED colour.
6. Confirm the Electrical Requirements
Confirm the required supply voltage before selecting the full product reference. Hazardous area beacons can be available in low-voltage DC and mains-voltage AC configurations, but the options vary between models and signal technologies.
Check:
- Nominal operating voltage
- Permitted voltage tolerance or supply range
- Maximum current consumption
- Starting or peak current, where applicable
- Control-panel or relay capacity
- Cable size and terminal capacity
- Earth and equipotential-bonding requirements
- Required switching and monitoring arrangements
Current consumption can vary by voltage, signal mode and colour. The highest applicable value should be considered when sizing the supply and control circuit.
7. Assess the Installation Environment
Hazardous area certification does not automatically establish suitability for every outdoor, offshore or corrosive environment.
Review the following:
- Ingress-protection rating
- Minimum and maximum ambient temperature
- Salt spray, marine or offshore exposure
- Chemical and hydrocarbon exposure
- UV and weather exposure
- Vibration or mechanical impact
- Enclosure material and corrosion resistance
- Requirement for a protective lens guard
IP66 and IP67 are common protection ratings for external hazardous area signalling equipment, but the correct rating should be based on the actual installation conditions.
8. Confirm Mounting and Cable-Entry Requirements
Confirm how and where the beacon will be installed before placing an order. The selected mounting position should provide the required visibility without obstructing access for inspection and maintenance.
Confirm:
- Wall, ceiling, surface or bracket mounting
- Permitted operating orientation
- Required mounting bracket or backstrap
- Number and thread type of cable entries
- Certified cable gland and stopping-plug requirements
- External earth or bonding arrangements
- Required duty or identification labels
- Access for inspection, testing and maintenance
Cable glands, stopping plugs and adaptors must be selected and installed so that the product certification and enclosure protection are maintained.
Example ATEX Beacon Selection Scenarios
The following products illustrate how the required signal type can influence the selection. Complete certification and technical suitability must still be checked for each application.
Continuous Status Indication
Where a continuous visual indication is required, a steady filament or fluorescent product may be considered.
Configurable Signal Patterns
Where steady, blinking, strobe or electronically rotating modes are required from one product platform, a configurable LED signal light may be suitable.
High-Intensity Xenon Flash
Where a defined xenon strobe signal is required, select the appropriate flash energy, voltage, colour and certified temperature range.
Information Required to Specify an ATEX Beacon
Providing complete application information helps reduce the risk of selecting an unsuitable product or incomplete ordering code.
ATEX Beacon Selection FAQs
Can a Zone 1 beacon be used in Zone 2?
Equipment providing a suitable higher level of protection may be acceptable in a lower-risk zone, but its complete certification, environmental suitability and project requirements must still be checked.
Is IP66/IP67 enough for a hazardous area?
No. An IP rating describes protection against ingress but does not replace hazardous area certification. Both the Ex marking and ingress protection must be suitable for the application.
Is an LED beacon always better than a xenon beacon?
No. The correct technology depends on the required visual effect, viewing conditions, flash energy, operating mode, electrical supply and maintenance strategy.
Does the lens colour affect beacon visibility?
Yes. The optical performance can vary by lens or LED colour. Check the manufacturer’s performance data for the exact configuration.
Can the beacon voltage be changed after ordering?
Usually, the operating voltage forms part of the certified product configuration and ordering code. It should be confirmed before purchase rather than changed on site.
Who should install an ATEX beacon?
Installation, inspection and maintenance should be completed by suitably competent personnel using the applicable hazardous area standards, product instructions and site procedures.
Need Help Selecting a Hazardous Area Beacon?
Send Thorne & Derrick the zone, atmosphere, temperature requirements, voltage, signal type, colour and installation conditions for product selection support.
Compare ATEX Beacon Options
Explore LED, xenon, steady, flashing and rotating visual signalling devices for Zone 1, Zone 2, Zone 21 and Zone 22 installations.